Specializing in all kinds of custom tarpaulins Custom Tarpaulin Product Manufacturers

 русский
 Français
News
 Home / News / Industry News / How Do You Use an Outpak Snow Tarp to Make Winter Snow Removal Faster and Easier?
  2026.05.08
 Industry News
Content
Shoveling snow is one of the most physically demanding winter chores — and one of the least efficient when done with a standard shovel alone. Snow lifting tarps, and specifically Outpak snow tarps, offer a fundamentally different approach: instead of moving snow one shovelful at a time, you load a large tarp, drag or carry the entire batch, and dump it in one motion. The result is significantly less time spent on the driveway, fewer trips across the yard, and considerably less strain on your back. But getting the most out of a snow tarp requires knowing how to set it up correctly, load it efficiently, and move it safely — especially in heavy or wet snow conditions.
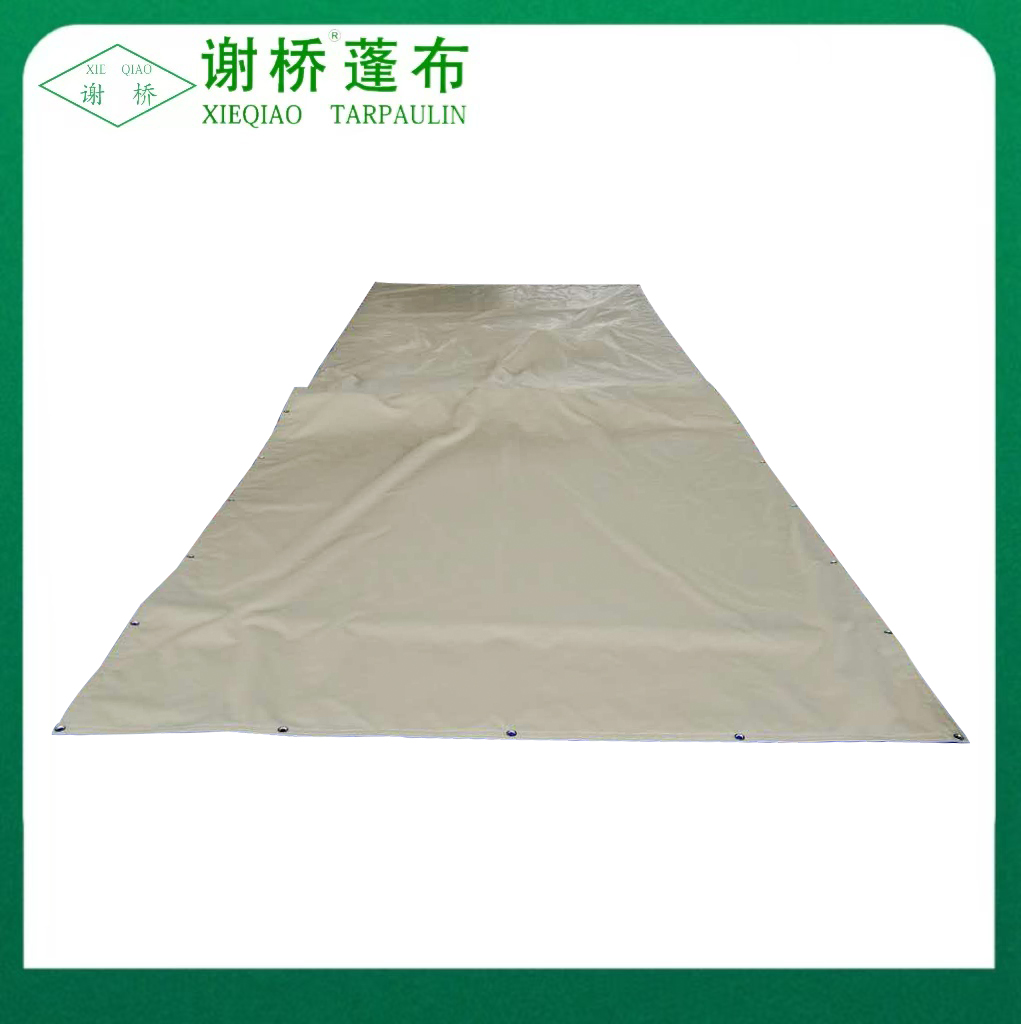
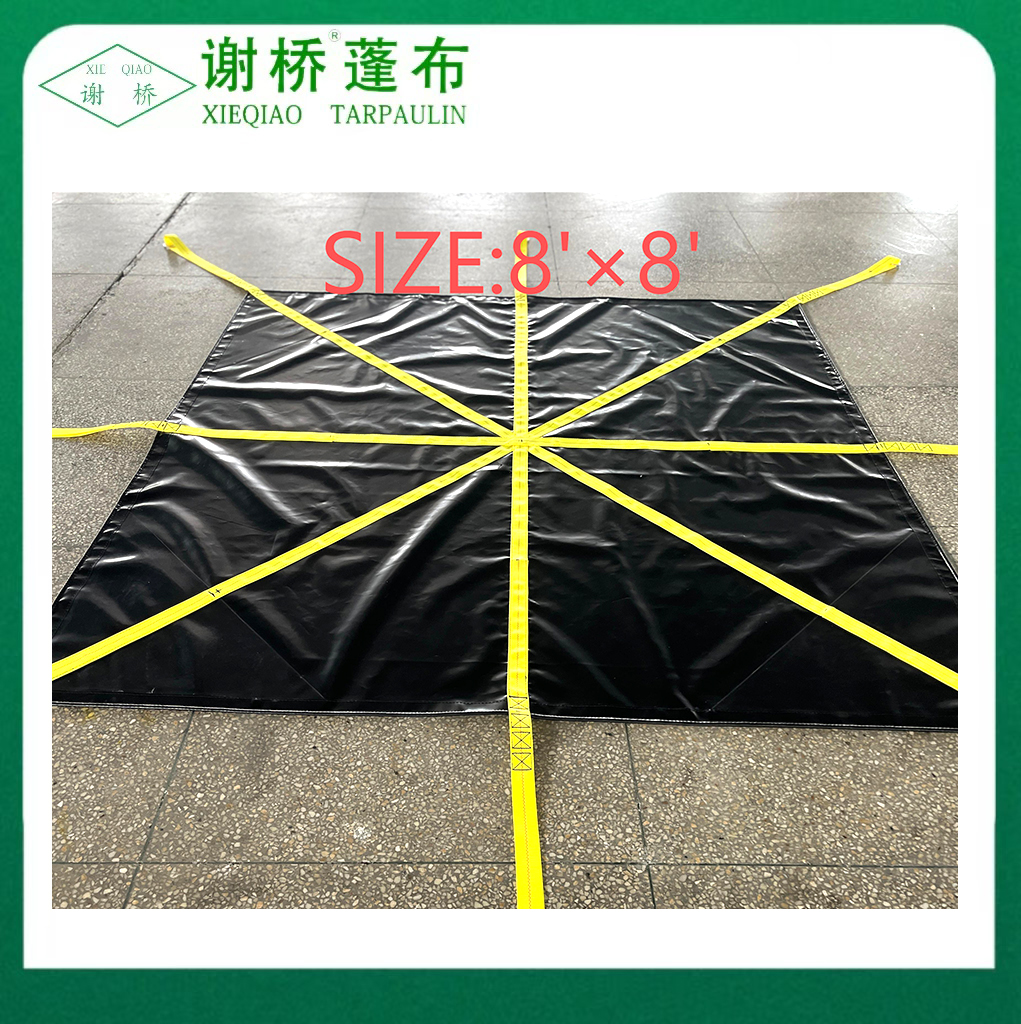
An Outpak snow tarp — also referred to as a snow lifting tarp or snow hauling tarp — is a heavy-duty, reinforced tarp specifically designed to collect, transport, and dump snow. Unlike standard blue poly tarps that tear under load, snow tarps are constructed from durable materials such as thick polyethylene or woven poly fabric with reinforced edges and grommets, enabling them to handle the weight and abrasion of repeated snow loads without failure.
The operating principle is straightforward: you lay the tarp flat on the surface where snow will accumulate or fall, shovel snow onto the tarp (or let snow fall directly onto it), then grab the handles or edge and drag the tarp to your disposal point. At the dump site, you tip the tarp or pull one edge to slide the snow off in a controlled pile. This workflow is dramatically more efficient than conventional shoveling, particularly on long driveways, large patios, or flat roof surfaces where snow volume is substantial.
Before learning how to use a snow lifting tarp, it helps to understand the key product variables that affect performance. Not all snow tarps are equal, and matching the tarp to your specific snow removal task will determine how efficiently the job gets done.
| Feature | What to Look For | Why It Matters |
| Size | 6×6 ft to 8×10 ft or larger | Larger tarps move more snow per trip but require more strength to drag when fully loaded |
| Material thickness | 6 mil or heavier polyethylene | Thicker material resists puncture and tearing on rough concrete or asphalt surfaces |
| Handle design | Rope handles or reinforced grommets | Proper handles distribute grip load and prevent edge tearing when dragging heavy loads |
| Surface compatibility | Smooth underside for sliding | A smooth-bottomed tarp glides more easily over packed snow and ice |
| Cold-weather flexibility | Rated for use below 0°F / -18°C | Standard tarps stiffen and crack in extreme cold; snow tarps remain pliable |
Outpak snow tarps are purpose-built for this application, meaning they address all of the above criteria in a single product. For average residential driveways, a 6×8 ft tarp works well for one person. Larger commercial or rooftop applications benefit from the 8×10 ft or larger sizes, particularly when two people are working together to move loads.
Using an Outpak snow tarp efficiently comes down to correct positioning, disciplined loading, and controlled dumping. Each stage of the process has nuances that separate an effective technique from one that results in spilled loads, a torn tarp, or unnecessary physical effort.
The most efficient use of a snow lifting tarp is the proactive method: lay the tarp flat on the surface before a snowfall event begins. Spread it out fully on your driveway, walkway, deck, or any area where you want to collect snow. When the storm ends, the snow will have accumulated directly on the tarp. All you need to do is grab the handles and drag the loaded tarp to your disposal area — no shoveling required at all for the initial removal phase. This technique is particularly effective for snowfalls of up to 12 inches and saves the greatest amount of time and physical effort compared to any other method.
If you are using the tarp reactively — after snow has already accumulated — lay the tarp flat adjacent to the area you are clearing. Using a snow shovel, load shovelfuls of snow onto the centre of the tarp, working progressively and distributing the load evenly. Avoid piling all the snow at one end, as an unbalanced load makes dragging significantly harder and increases the risk of spilling as you move. For wet, heavy snow, keep loads smaller and more frequent — it is faster to make two lighter trips than to overload a tarp and struggle to move it or risk tearing it.
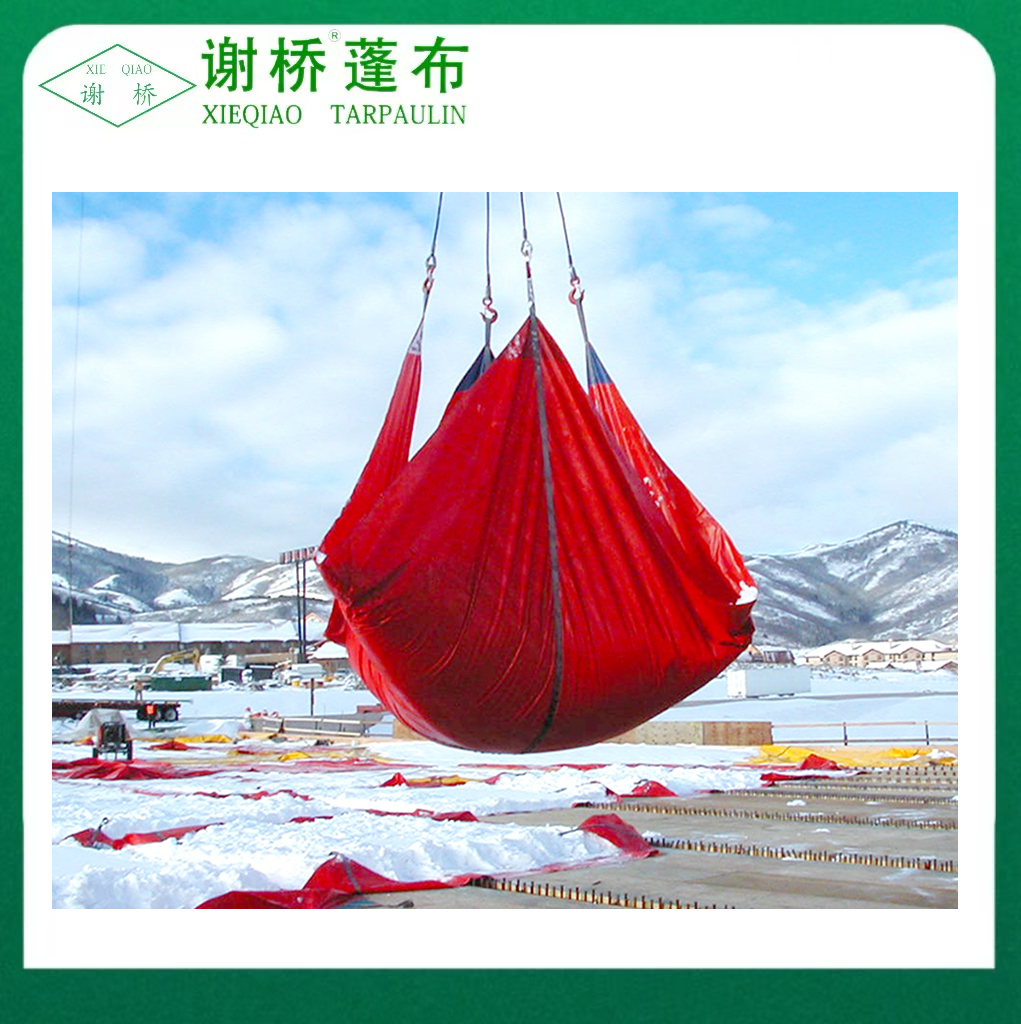
Once the tarp is loaded, gather the front edge (the end facing your dump direction) and pull it using the rope handles or reinforced grommets. For one person, grip both handles and walk forward, leaning into the load. On smooth or lightly packed snow surfaces, the tarp will glide with manageable effort. On rough concrete, slightly more resistance is expected — this is where the material thickness matters, as thinner tarps will abrade and eventually puncture. For very heavy loads, two people — one on each side — can distribute the effort and maintain better directional control.
Avoid twisting or dragging the tarp sideways across sharp edges such as expansion joints, raised curbs, or jagged ice. Route your path to the dump site to minimize contact with these surfaces wherever possible.
At your disposal point, position the tarp so that the dump direction is clear and level enough to prevent snow from sliding back toward you. To unload, simply pull one edge of the tarp sharply upward or flip the far edge away from you — the snow will slide off in one controlled movement. For larger loads, two people can lift opposite edges simultaneously and walk toward each other, folding the tarp and pushing the snow off the front. Avoid dumping near storm drains, downspouts, or building foundations where snowmelt can cause drainage or structural issues.
Snow tarps are versatile tools that adapt to a range of winter removal scenarios. The technique varies slightly depending on the surface and context.
For driveways, the proactive method is most effective. Lay the tarp in sections if the driveway is longer than one tarp width, working from the garage end outward. After pulling each loaded tarp to the side yard or end of the driveway, return the tarp and reposition it to cover the next section. On walkways, a smaller tarp is more maneuverable and can be folded lengthwise to fit narrow paths.
Snow tarps work exceptionally well on wooden decks and composite decking, where metal shovels risk scratching or gouging the surface. The tarp acts as a protective buffer during loading and the gentle dragging motion causes minimal surface contact. Position the tarp so it can be dragged off the edge of the deck and dumped directly to the ground below — eliminating the need to carry the snow down stairs entirely.
On flat or low-slope roofs, snow accumulation creates structural load concerns, particularly after multiple storms without clearing. A snow lifting tarp allows you to shovel snow onto it in sections and then slide it to the roof edge for controlled dumping. Always maintain footing awareness on rooftop surfaces — wear slip-resistant footwear, and never load a tarp so heavily that moving it compromises your balance or footing near the roof edge.
Correct use habits extend the working life of a snow tarp significantly and ensure consistent performance across multiple seasons.
Even a well-designed snow lifting tarp will underperform — or fail early — if used incorrectly. These are the most frequent errors made by first-time tarp users:
The efficiency gain from using a snow tarp compared to conventional shoveling alone is substantial — particularly for households dealing with frequent snowfall or large surface areas. Studies and user experience consistently report time savings of 40 to 60 percent on driveway clearing when a snow tarp is incorporated into the workflow. Beyond time, the reduction in repetitive lifting — the primary cause of snow shoveling-related back injuries — makes tarps a meaningful safety tool, especially for older adults or those with pre-existing back conditions.
An Outpak snow tarp, used correctly and maintained properly, will last multiple winters under regular use. The upfront investment is modest relative to the physical effort it eliminates and the time it returns to your winter morning. Combined with a quality snow shovel for initial surface work and ice melt for traction management, a snow lifting tarp rounds out a practical, efficient winter property maintenance toolkit that makes even heavy snowfall events manageable.
Recommended Products



 The Industrial Park of Wuqiao Town, Jiangdu District, Yangzhou City, Jiangsu Province, China.
  +86-15252561063
  +86-15252561063
  [email protected]