Specializing in all kinds of custom tarpaulins Custom Tarpaulin Product Manufacturers

 русский
 Français
News
 Home / News / Industry News / How to Tarp a Leaky Roof: A Step-by-Step Guide to Materials, Sizing, and Securing
  2026.09.08
 Industry News
Content
A roof leak rarely announces itself politely. It starts as a dark stain on a ceiling, turns into a drip, then becomes a steady stream after nightfall. When wind has lifted shingles or a fallen branch has punched through the deck, every additional hour of rain forces moisture into insulation, framing, and finished rooms below. Tarping a leaky roof is the fastest temporary protection you can apply, and it works only when three decisions are correct: the material, the size, and the fastening system. This guide walks through each decision with the measurements and tolerances that keep a tarp in place through changing weather.
Here is the conclusion up front: a roof tarp is only as good as its edges and its drainage. If the tarp traps water instead of shedding it, the pooled liquid adds weight, stretches the fabric, and drags fasteners out of the roof deck. Wind finds the loosest edge, lifts it, and then uses the tarp like a sail to strip more shingles. Three factors separate a tarp that protects the roof from one that damages it further:
When these three factors are handled in that order, the tarp channels rain away from the breach and stays put.
Tarping starts before the tarp is unrolled. A quick inspection from the ground and from the attic tells you whether the roof is safe to work on and what the tarp will need to cover.
From the attic, look for daylight through the roof deck, sagging sheathing, or water trails that mark the leak path. From the ground, scan the slope for missing shingles, lifted edges, and exposed decking. If any section visibly sags, do not walk near it. Wet or rotted sheathing can give way under weight.
Work only in dry conditions with wind below 15–20 mph (24–32 km/h). Above that, a wide sheet of tarp cannot be controlled from a ladder, and wet shingles are dangerous to walk on. If a storm is overhead, stay off the roof and protect the interior instead.
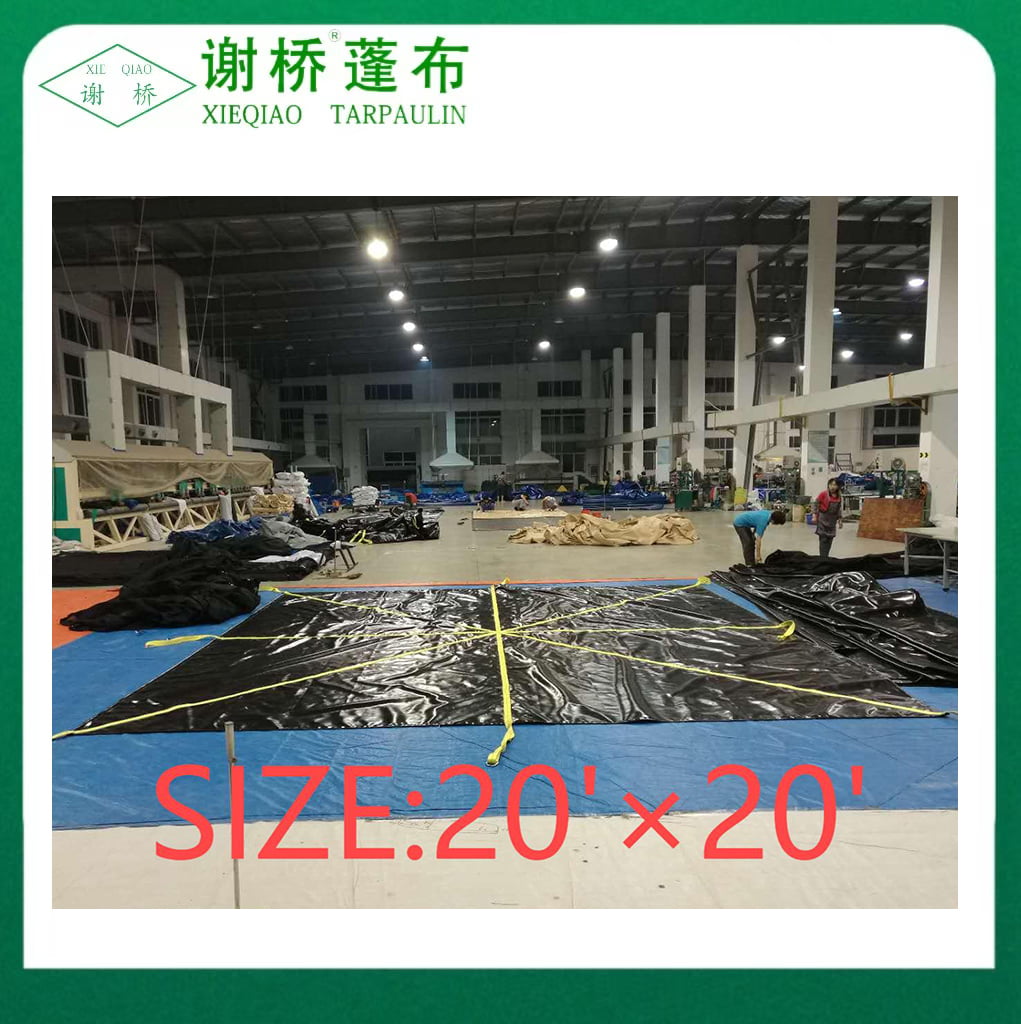
Branches, leaves, and windblown shingles have to come off before the tarp goes down. Raking debris across a slope tears shingles and endangers footing. A 12x12 debris lifting tarp lets a second person haul material off the roof in a controlled line, the same technique storm crews use, without dragging loose material across the slope by hand.
 12"x12"Debris Lifting Tarps coated in black vinyl Suppliers, Factory - Yangzhou XieQiao Tarpaulin - 12'x12'Debris Lifting Tarps coated in black vinyl Suppliers and Factory in China, Wholesale 12'x12'Debris Lifting Tar...View Product →
Not all tarps behave the same way on a sloped roof. The material must resist ultraviolet light, stay flexible in cold weather, and hold tension at every fastening point. Three families dominate roof work.
For a leaky roof that may stay covered until the repair crew arrives, choose a vinyl tarp with reinforced edges and rustproof metal grommets spaced no more than 24–36 inches (60–90 cm) apart. Grommet spacing decides whether the middle of the tarp stays flat or flaps apart. Check the hem reinforcement, grommet material, and tensile strength before buying. A tear-resistant roof tarp with rustproof metal grommets handles the abuse of being pulled across shingles and nailed through several roofing layers.
The most common sizing mistake is ordering a tarp that barely covers the hole. Use this rule: add at least 3–4 feet (0.9–1.2 m) of overlap on every side of the damaged area. A roof breach measuring 4x8 feet therefore needs a tarp of roughly 12x16 feet or larger. If the tarp must cross the ridge, add another 2–3 feet of length so it can follow the slope transition without pulling upward.
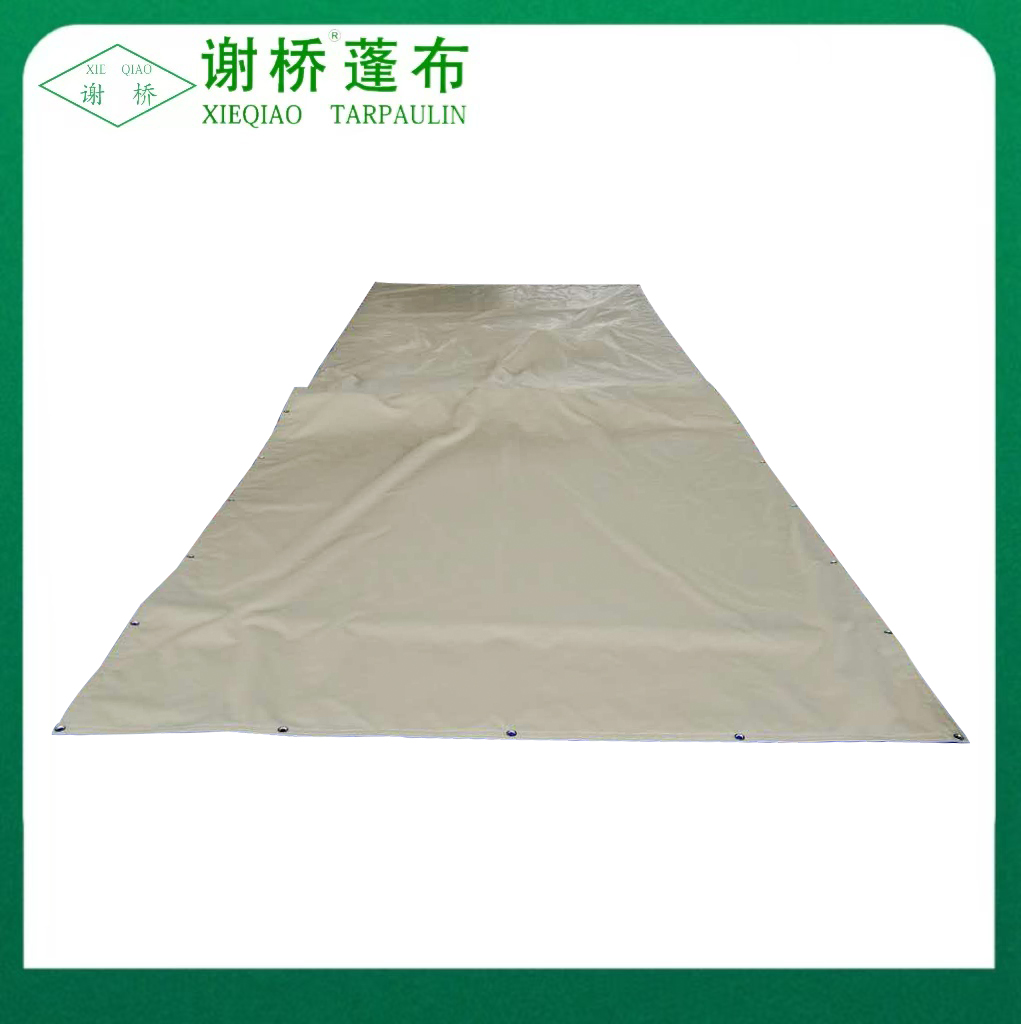
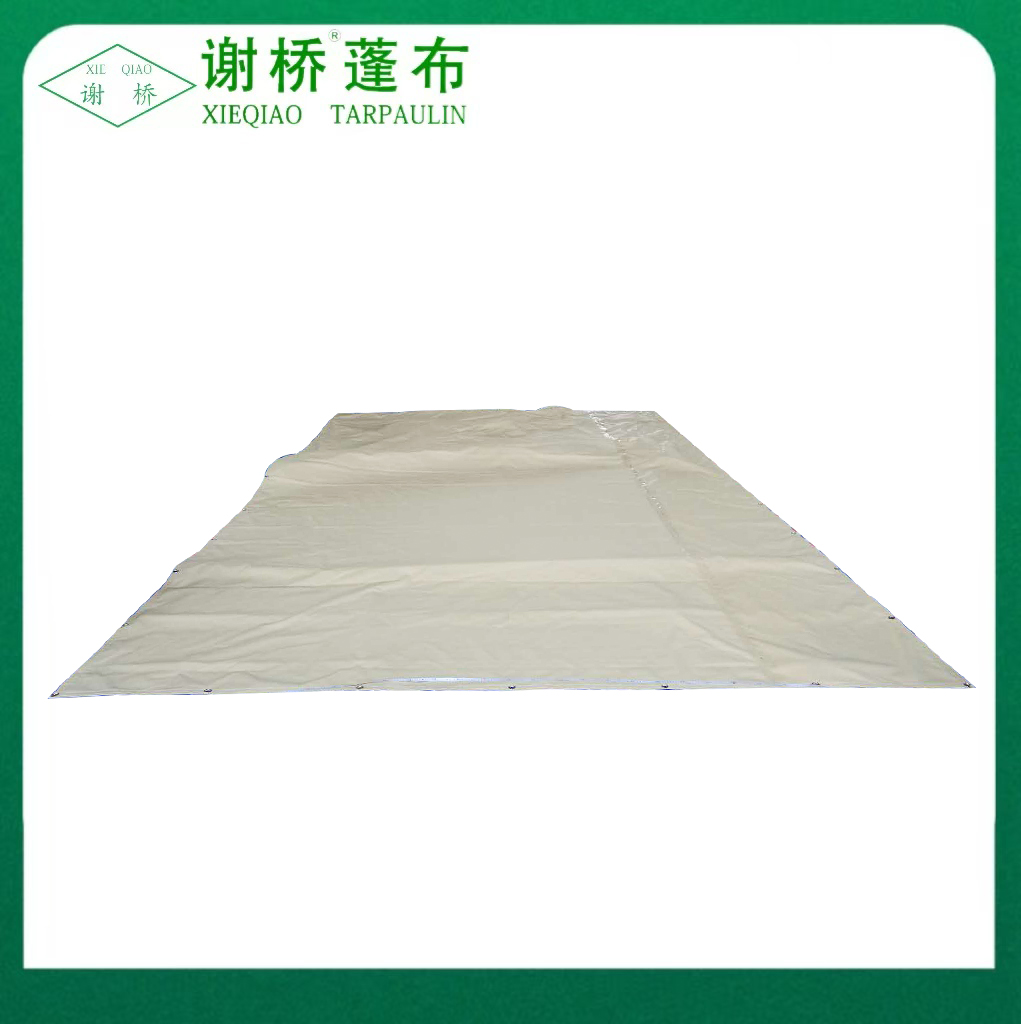
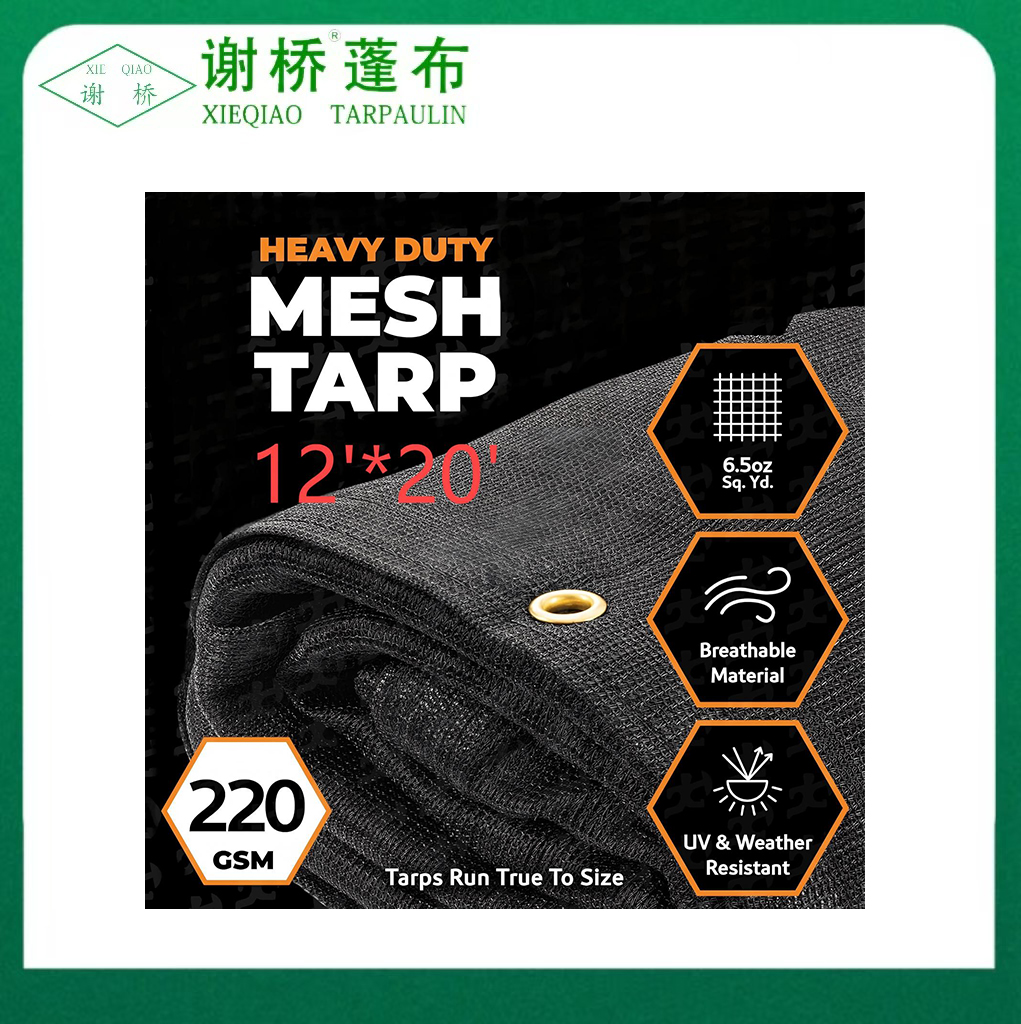
On a typical single-family home, a 12x20 yellow vinyl waterproof tarp covers a 4x8 foot damaged section with the recommended overlap on every side and still reaches past the ridge on most buildings. Measure in two directions (up the slope and across the slope), then round up to the next standard size. A slight oversize is always safer than a tight fit that pulls on the corner grommets.
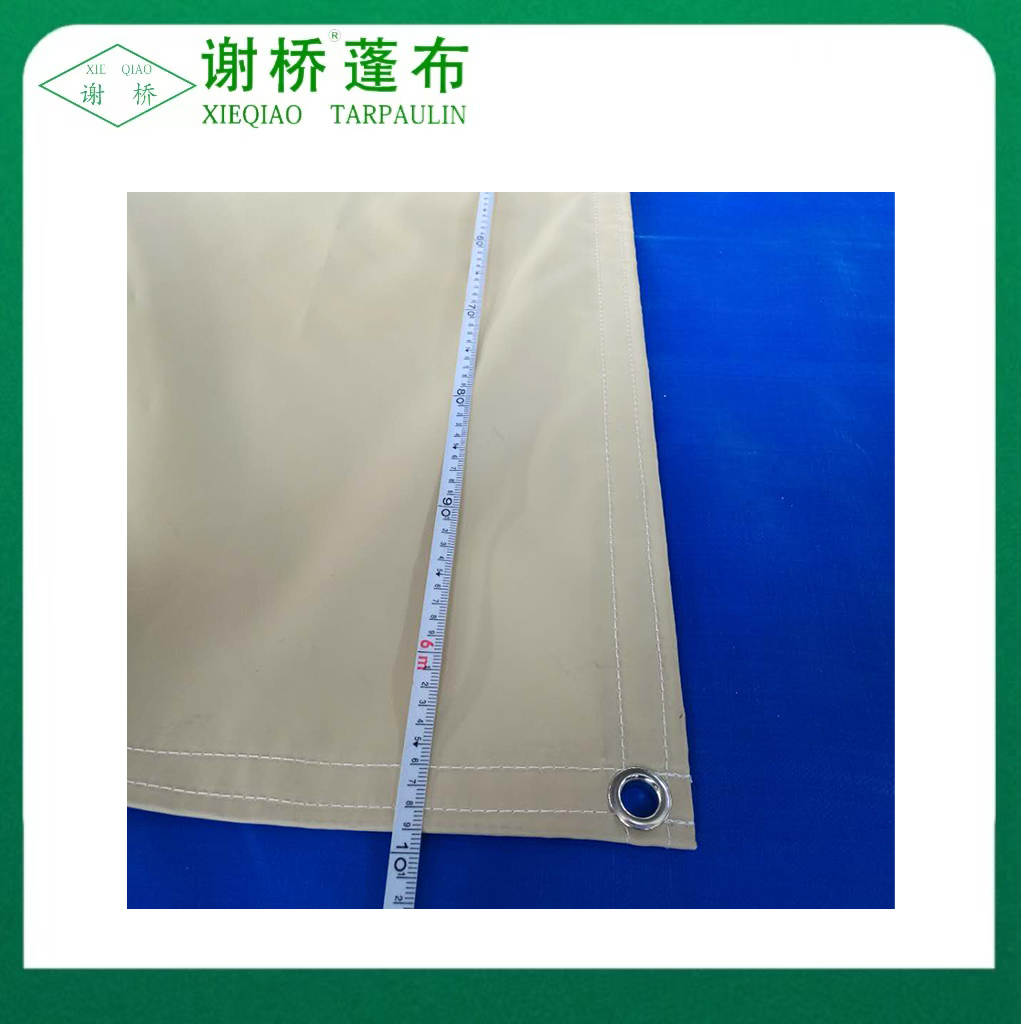 1000x1300D PP webbing Yellow Vinyl Waterproof Tarp 12"×20" Suppliers, Factory - XieQiao Tarpaulin - 1000x1300D PP webbing Yellow Vinyl Waterproof Tarp 12'×20' Suppliers and Factory in China, Wholesale 1000x1300D PP we...View Product →
Work with a second person. One person feeds the tarp from the ground while the other keeps it centered and controlled on the roof. The sequence below follows how roofing crews place a tarp so that water runs over it, not under it.
Unroll the tarp so its long dimension runs in the same direction as the roof slope. A tarp laid sideways creates a broad face for the wind and lets water enter along the side edges.
Lift the shingles where they overlap, slide the top edge of the tarp underneath, and let the shingles lie back down. This creates a seal at the upper edge, so water flowing down the slope passes over the tarp instead of diving beneath it. If the damage covers the ridge, run the tarp over it instead of stopping short.
Wrinkles and slack create low spots where water collects. Start at the top center, pull the fabric taut, and work outward and downward. The smoother the tarp, the fewer places water can pool.
On most residential roofs, 1x3 or 1x4 wood furring strips nailed on top of the tarp are the most reliable system. Fold the tarp edge around the strip, then nail every 8–12 inches (20–30 cm) along the top edge first. Work down the sides and bottom, pulling tension outward to keep the fabric tight.
On exposed or high roofs, add intermediate rows of strips across the center, not just around the perimeter. Wind pressure on the middle of a wide sheet causes most failures, and an unsecured span will pound the deck until the grommets tear.
Corners lift first, so they get the tightest fastening. Nail through the corner reinforcement, not unsupported fabric, and add a second nail per corner strip when in doubt.
Furring strips and nails are the standard: the strip spreads the load across the edge and the nails hold every few inches. Other methods have their place.
| Method | Wind resistance | Roof penetration | Installation speed | Best suited for |
|---|---|---|---|---|
| Furring strips and nails | High; edges held flat along the full length | Yes; nail holes through shingles | Medium | Most sloped residential roofs and windy sites |
| Sandbags along the edges | Medium; gaps can open between bags | None | Fast | Low-slope roofs and calm weather windows |
| Ropes through grommets | Medium; depends on available anchor points | Usually none | Fast to medium | Roofs with parapets, anchors, or ridge fixtures |
| Screws with large washers | High; strong but at discrete points | Yes | Medium | Commercial decks and deteriorated surfaces |
Whichever method you choose, fasten the top edge first, keep the tarp flat, and never rely on corner grommets alone when wind is in the forecast.
The same errors repeat on storm-damaged roofs every season. Avoid them and the tarp will almost always hold:
Inspect the finished installation from the ground after each heavy rain. A tarp that balloons or pools is telling you exactly where the fix needs adjustment.
A roof tarp is a temporary measure, and the clock starts at installation. Even a correctly mounted vinyl tarp ages under UV exposure, temperature swings, and wind fatigue. Use that window to schedule a permanent repair instead of waiting for the next storm to test the install.
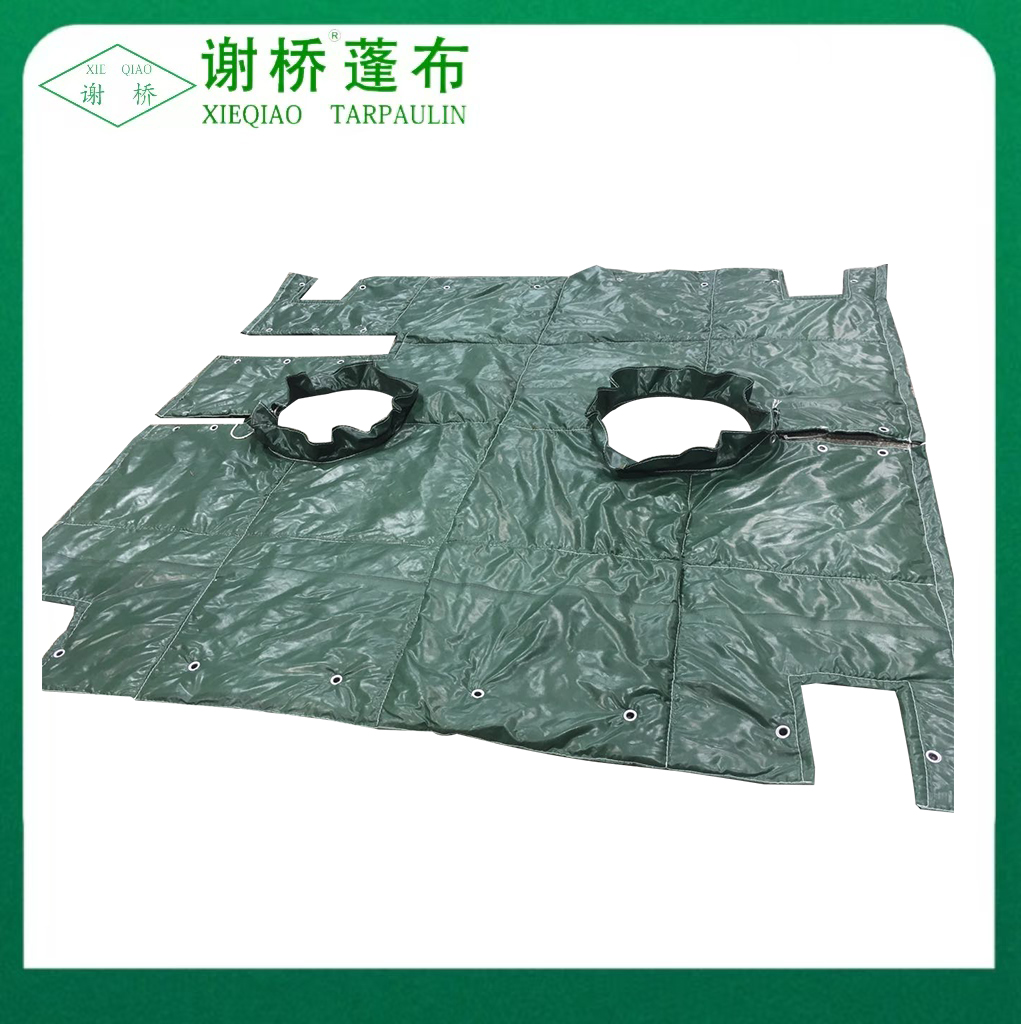
If the leak is isolated and the repair is scheduled within a few days, a roof leak diverter with D-rings can channel water around a single problem point while the main cover waits for better weather. On larger or commercial buildings, an emergency roof drip tarp for commercial buildings helps contain interior moisture even when exterior access is limited. When the source of the leak sits at a valley or a clogged gutter, a yellow vinyl drain tarp laid beneath the main tarp can guide runoff sideways to a discharge point away from the building envelope.
 Yellow Vinyl Drain Roof Ceiling Leak Drip Diverter Tarp Suppliers, Factory - YanXieQiao Tarpaulin - Yellow Vinyl Drain Roof Ceiling Leak Drip Diverter Tarp Suppliers and Factory in China, Wholesale Yellow Vinyl Drain ...View Product →
Whatever the size of the damage, the principle stays the same: cover the breach completely, keep the water moving, and hold every edge down. Do those three things, and the tarp will do its job until the roof does.
Recommended Products



 The Industrial Park of Wuqiao Town, Jiangdu District, Yangzhou City, Jiangsu Province, China.
  +86-15252561063
  +86-15252561063
  [email protected]