Specializing in all kinds of custom tarpaulins Custom Tarpaulin Product Manufacturers

 русский
 Français
News
 Home / News / Industry News / How to Repair a Tarp: Patch Holes, Tears & Rips in Vinyl, Canvas & PVC Tarps
  2026.09.21
 Industry News
Content
A 2-inch puncture in a tarp becomes a foot-long tear within a few stormy nights if it is left unrepaired. That is how most tarp damage spreads, and it is exactly why a prompt repair saves you money. Most tarp damage can be fixed in under an hour with an adhesive patch, a few stitches, and proper surface preparation. The key is to match the repair method to the material and the damage type, and to clean the surface thoroughly before any adhesive touches it.
Not all tarp damage responds to the same treatment. A puncture in a PVC-coated vinyl tarp can be sealed with an adhesive patch in minutes, while a tear in canvas needs stitching because the woven fabric spreads stress across the material. A ripped edge with a missing grommet requires folding, sewing, and new hardware. Using the wrong method wastes time and produces a repair that fails under normal wind load.
Start by laying the tarp flat on a clean surface. Inspect the full damaged area, not just the visible tear. Check whether the material around the damage is still soft and flexible. Sun-damaged PVC becomes brittle, and no patch will hold on fabric that has lost its flexibility. Identify the material by its texture: vinyl and PVC tarps have a smooth coated surface, canvas has a visible woven grain, and polyethylene tarps are thin with a plastic-film feel.
| Damage Type | Best Repair Approach | Difficulty | Typical Time |
|---|---|---|---|
| Small puncture up to 1 inch | Adhesive patch on both sides | Easy | 15 to 30 minutes |
| Tear from 1 to 6 inches | Stitch the tear, then apply a patch | Moderate | 45 to 60 minutes |
| Tear longer than 6 inches | Stitch, patch both sides, reinforce the edges | Moderate to challenging | 1 to 2 hours |
| Ripped edge or missing grommet | Fold, sew a clean hem, install new grommet | Challenging | 45 to 90 minutes |
Most tarp repairs need only a few basic items, and most of them are available at any hardware store. Using the right adhesive and patch material is more important than any other part of the process.
Small holes and punctures up to about 1 inch in diameter are the easiest tarp damage to repair. The goal is to seal the hole watertight and to reinforce the area so it does not tear under wind pressure.
For an emergency fix, self-adhesive tarp tape or water-resistant duct tape works well. Clean the surface, apply the tape with 3 to 4 inches of overlap on each side, and press it down firmly. A tape repair can hold for weeks, but treat it as temporary and apply a bonded patch when the tarp is out of service.
Large tears and ripped edges need more than a patch. When a tarp is under tension, stress concentrates at the ends of a tear and pulls a simple patch away. Stitching the tear closed first spreads that stress across the surrounding fabric, so the patch only has to handle waterproofing.
For a ripped edge or missing grommet, trim away the frayed material, fold the edge over by 1 to 2 inches, and sew the fold flat. Install the grommet through the folded layers so the load spreads across doubled fabric. If the original damage extends beyond the grommet area, cut off the damaged section and sew a new hem before adding hardware.
Tarp materials behave differently during repair, and the best method for one type can damage another. Identifying the material is the most important decision in the repair process.
Vinyl and PVC tarps are the easiest to repair because the coating creates a dense, uniform surface for adhesives. A quality yellow vinyl waterproof tarp, for example, takes adhesive patches firmly through years of outdoor exposure. Use a PVC-compatible adhesive and press the patch down from the center toward the edges to push out air. Heavy-duty truck covers respond to the same treatment; a waterproof UV-resistant PVC truck tarp is expensive enough to justify a careful repair over replacement.
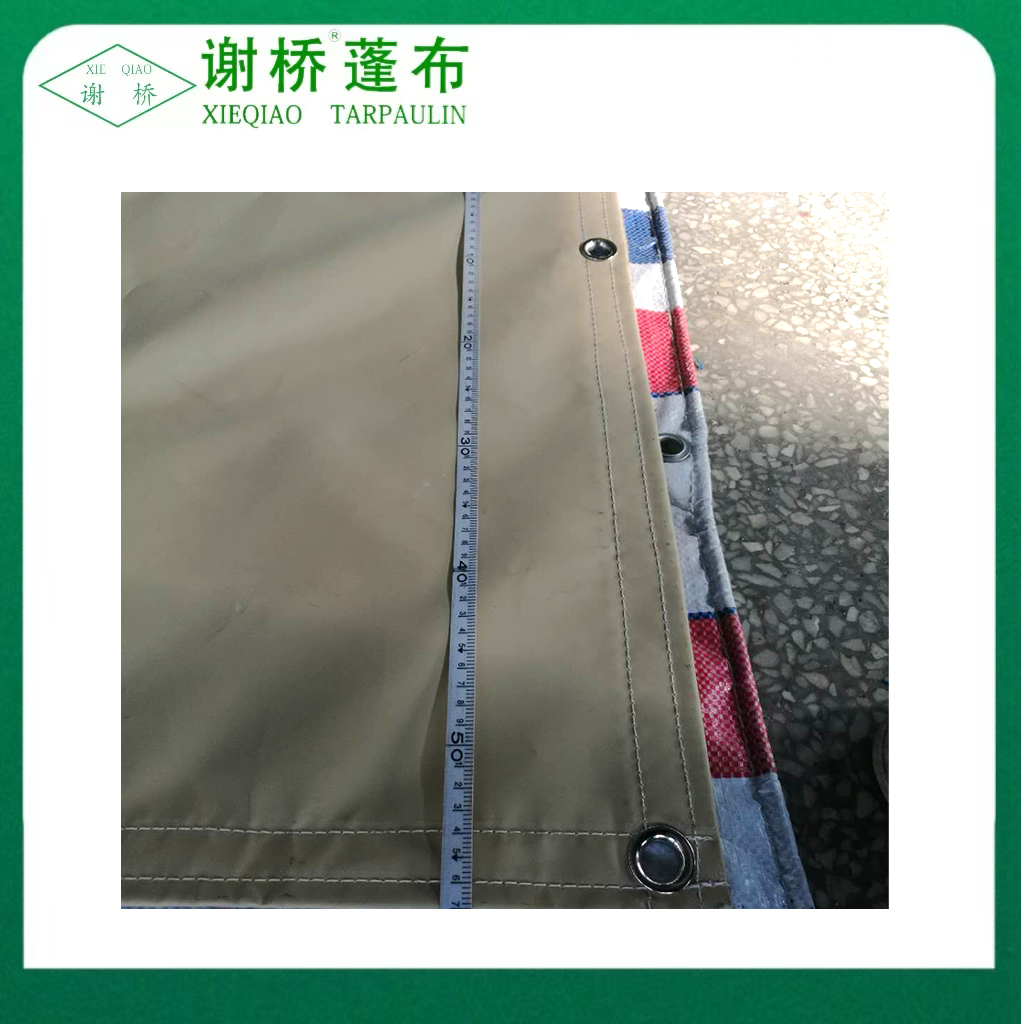 1000D PVC Coated Polyester Yellow Vinyl Waterproof Tarp 10"×15" Suppliers, FactoXieQiao Tarpaulin - 1000D PVC Coated Polyester Yellow Vinyl Waterproof Tarp 10'×15' Suppliers and Factory in China, Wholesale 1000D PVC C...View Product →
Canvas tarps are breathable, so a patch alone rarely creates a watertight seal. Sewing is almost always necessary. Use a heavy needle and waxed polyester thread, then seal the stitch line with seam sealer or a thin layer of fabric glue. For lighter polyester canvas, such as a 100 percent polyester canvas tarp, a flexible fabric adhesive combined with stitching gives a strong, flexible repair that withstands repeated folding.
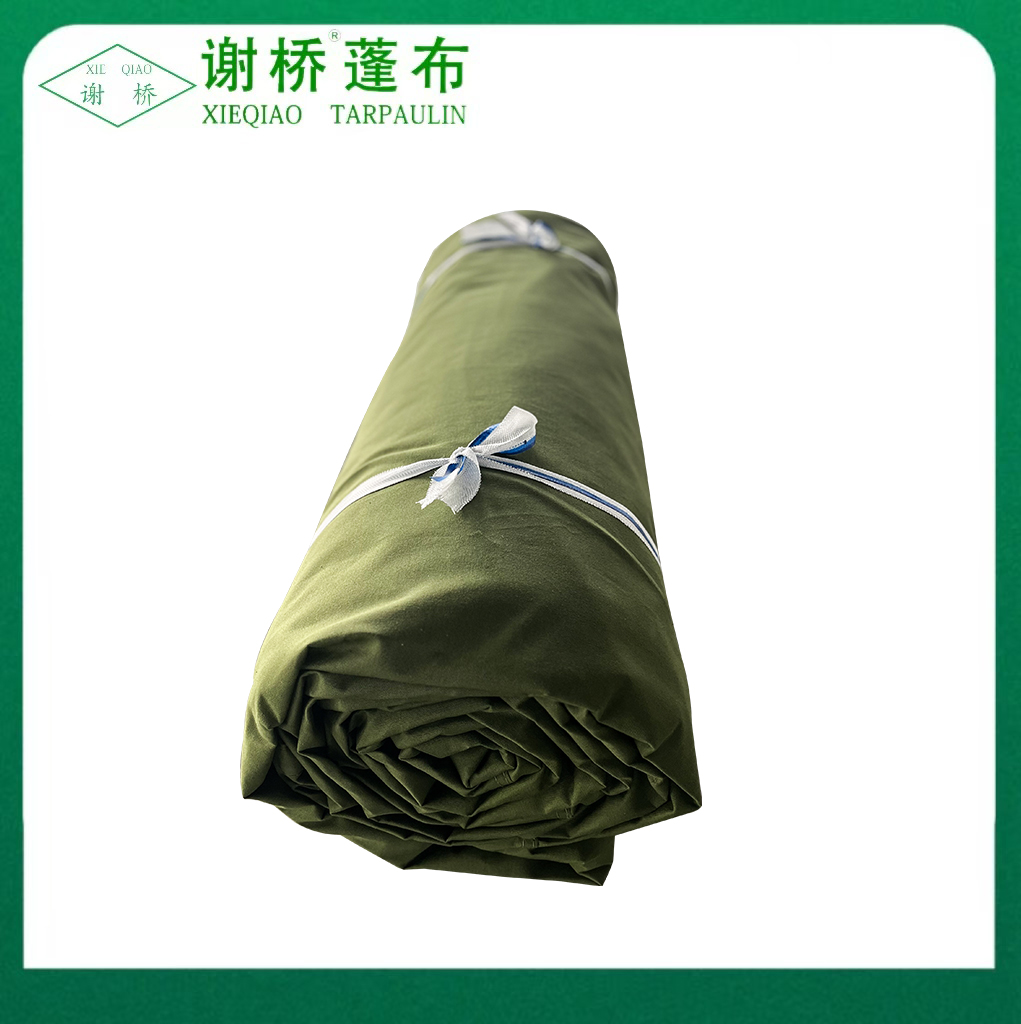 Heavy Duty Multipurpose Tarpaulin Cover 100% Polyester Canvas Suppliers, FactoryXieQiao Tarpaulin - Heavy Duty Multipurpose Tarpaulin Cover 100% Polyester Canvas Suppliers and Factory in China, Wholesale Heavy Duty Mu...View Product →
Clear vinyl tarps get punctured just like opaque ones, but they need a patch that preserves visibility. When repairing a clear vinyl waterproof tarpaulin, use a clear vinyl patch slightly larger than you would for an opaque tarp, because clear film tends to stretch around the patch edges. Apply the patch with the same cleaning and pressing steps, and avoid using opaque tape unless transparency is not important.
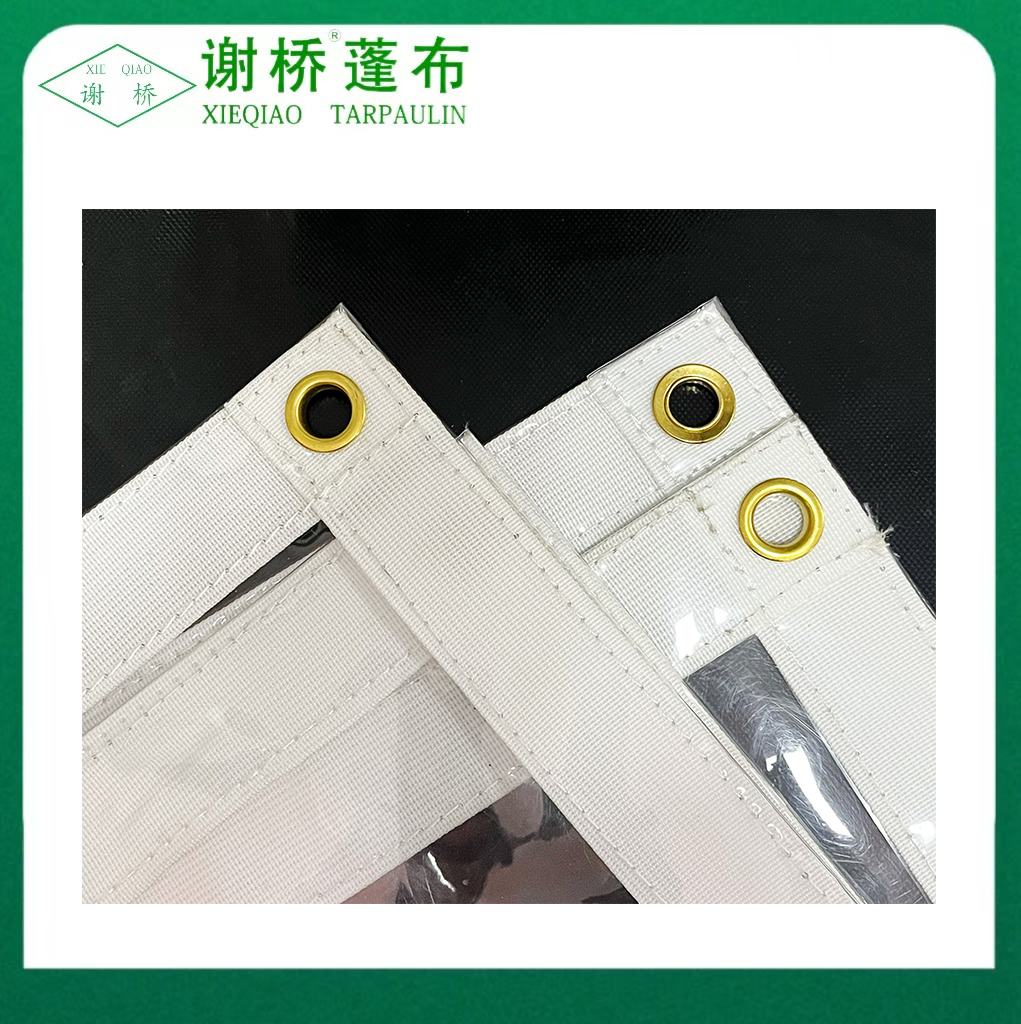 Clear UV resistant Vinyl Waterproof Tarpaulin Suppliers, Factory - Yangzhou CityXieQiao Tarpaulin - Clear UV resistant Vinyl Waterproof Tarpaulin Suppliers and Factory in China, Wholesale Clear UV resistant Vinyl Wate...View Product →
Most tarp damage comes from predictable causes: dragging on rough surfaces, wind stress on loose edges, UV breakdown, and folding in the same crease until the material cracks. Address these causes and repairs become rare events instead of routine chores.
For environments with constant abrasion or high wind, a more durable tarp from the start reduces future workload. A tear-resistant camping tarp made from high-density fabric is a practical choice for repeated outdoor use, and it accepts a clean patch repair just as well as any other coated fabric.
Not every tarp is worth repairing. If the material is cracked and brittle across a wide area, if the coating is flaking off, or if tears appear along multiple seams, the structural integrity is already gone. A patch on degraded fabric is a short-term bandage that can fail when the tarp is needed most.
A practical guideline: if more than 20 percent of the tarp surface shows cracking, patching, or water penetration, replacement is the safer and more cost-effective option. If the tarp is otherwise flexible and watertight, use the repair methods in this guide, then inspect the repaired area after the first heavy storm. Repairs hold best when they are made early, before a small puncture has grown into the kind of tear that ends a tarp's life.
Recommended Products



 The Industrial Park of Wuqiao Town, Jiangdu District, Yangzhou City, Jiangsu Province, China.
  +86-15252561063
  +86-15252561063
  [email protected]